")


Cart 0
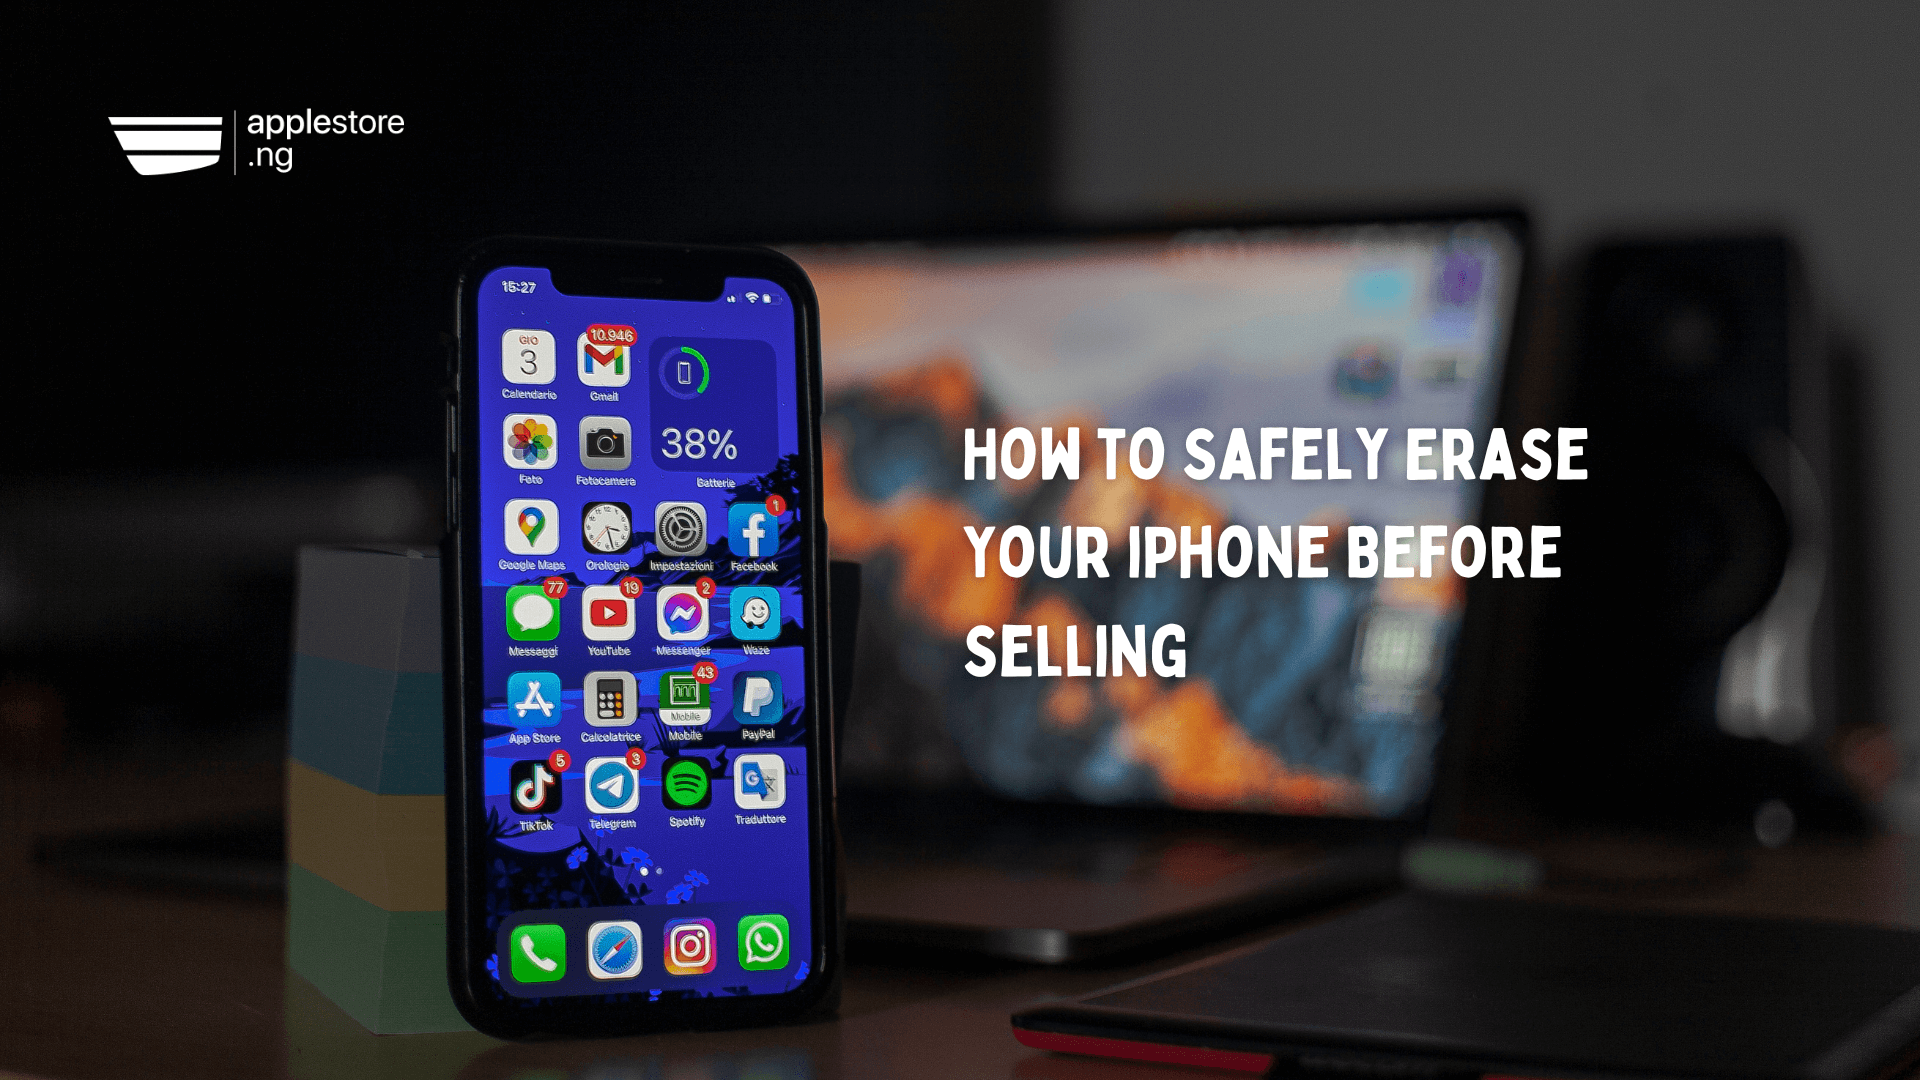
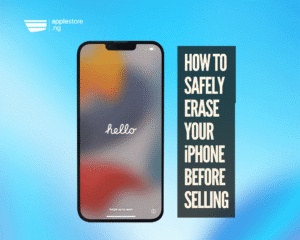
How to Safely Erase Your iPhone Before Selling
Do you know how to safely erase your iPhone? Whether you’re upgrading to a newer model or just trying to turn your used iPhone into cash, one of the most important steps before handing over your device is to erase it securely. This protects your personal information and allows the new owner to easily set up the device.
In this guide, you’ll learn how to properly erase your iPhone in a safe, smart, and simple way before selling it.
Why You Should Erase Your iPhone Before Selling
When you sell your iPhone without erasing it, you risk:
- Exposing personal data like messages, photos, passwords, and banking apps
- Losing control of your Apple ID if it’s still linked to the device
- Preventing the buyer from using the iPhone, especially if Activation Lock is still enabled
At Applestore.ng, we recommend that every seller take the time to do a secure wipe before selling or trading in their Apple device.
What to Do Before Erasing Your iPhone
1. Back Up Your Data
Before you erase your iPhone, make sure you don’t lose your important files, contacts, or photos.
You can back up using:
- iCloud:
Go to Settings > [Your Name] > iCloud > iCloud Backup > Back Up Now - Computer (Mac or Windows):
Connect your iPhone via USB > Open Finder (Mac) or iTunes (Windows) > Click Back Up Now
2. Sign Out of iCloud and Apple ID
This disables Activation Lock, which prevents the buyer from using your iPhone after it’s erased.
- Go to Settings > [Your Name] > Sign Out
- Enter your Apple ID password when prompted
- Tap Turn Off
At Applestore.ng, we can’t accept iPhones with iCloud still active. You must sign out of iCloud and Apple ID to complete the transaction.
3. Unpair Devices & Remove SIM
- Unpair Apple Watch via the Watch app
- Remove your SIM card if you’re using a physical SIM
- Also, sign out of services like iMessage and FaceTime if you’re switching platforms
How to Erase Your iPhone Securely
Once you’ve backed up and signed out, follow these steps:
Step-by-Step: Erase All Content and Settings
- Open Settings
- Tap General
- Scroll down and tap Transfer or Reset iPhone
- Tap Erase All Content and Settings
- Enter your device passcode if prompted
- Confirm by tapping Erase iPhone
The phone will reboot, and all personal content, settings, and apps will be deleted. Once it restarts, you’ll see the Hello setup screen, ready for the new owner.
Common Mistakes to Avoid
- Forgetting to sign out of iCloud
- Not backing up important files
- Leaving your SIM card inside
- Trying to erase remotely without a good internet connection
Tip from Applestore.ng: Always double-check that the iPhone shows the welcome screen. This confirms it’s fully reset and not linked to your Apple ID.
Selling Your iPhone? Choose Applestore.ng
At Applestore.ng, we make it fast, easy, and secure to sell your used iPhone in Nigeria.
- Instant quotes on used and brand-new Apple devices
- Fast payment after inspection
- Professional inspection for quality assurance
Selling your iPhone doesn’t have to be stressful. Just follow the steps above, and we’ll handle the rest.
Final Checklist Before Selling
- iPhone fully backed up ✅
- iCloud & Apple ID signed out ✅
- All data erased ✅
- SIM card removed ✅
- Phone reset to factory settings ✅
Let’s Help You Sell Your iPhone Today
Ready to sell? Visit Applestore.ng to get started. Whether you’re in Lagos, Abuja, or anywhere in Nigeria, we offer trusted Apple resale services with real value and expert support.